'use strict'; const b2Domain = '你的域名'; // configure this as per instructions above const b2Bucket = '存储桶名称'; // configure this as per instructions above const b2UrlPath = <code>/file/${b2Bucket}/</code>; addEventListener('fetch', event => { return event.respondWith(fileReq(event)); });
// define the file extensions we wish to add basic access control headers to const corsFileTypes = ['png', 'jpg', 'gif', 'jpeg', 'webp'];
// backblaze returns some additional headers that are useful for debugging, but unnecessary in production. We can remove these to save some size const removeHeaders = [ 'x-bz-content-sha1', 'x-bz-file-id', 'x-bz-file-name', 'x-bz-info-src_last_modified_millis', 'X-Bz-Upload-Timestamp', 'Expires' ]; const expiration = 31536000; // override browser cache for images - 1 year
// define a function we can re-use to fix headers const fixHeaders = function(url, status, headers){ let newHdrs = newHeaders(headers); // add basic cors headers for images if(corsFileTypes.includes(url.pathname.split('.').pop())){ newHdrs.set('Access-Control-Allow-Origin', '*'); } // override browser cache for files when 200 if(status === 200){ newHdrs.set('Cache-Control', "public, max-age=" + expiration); }else{ // only cache other things for 5 minutes newHdrs.set('Cache-Control', 'public, max-age=300'); } // set ETag for efficient caching where possible constETag = newHdrs.get('x-bz-content-sha1') || newHdrs.get('x-bz-info-src_last_modified_millis') || newHdrs.get('x-bz-file-id'); if(ETag){ newHdrs.set('ETag', ETag); } // remove unnecessary headers removeHeaders.forEach(header => { newHdrs.delete(header); }); return newHdrs; }; asyncfunctionfileReq(event){ const cache = caches.default; // Cloudflare edge caching const url = newURL(event.request.url); if(url.host === b2Domain && !url.pathname.startsWith(b2UrlPath)){ url.pathname = b2UrlPath + url.pathname; } let response = await cache.match(url); // try to find match for this request in the edge cache if(response){ // use cache found on Cloudflare edge. Set X-Worker-Cache header for helpful debug let newHdrs = fixHeaders(url, response.status, response.headers); newHdrs.set('X-Worker-Cache', "true"); returnnewResponse(response.body, { status: response.status, statusText: response.statusText, headers: newHdrs }); } // no cache, fetch image, apply Cloudflare lossless compression response = awaitfetch(url, {cf: {polish: "lossless"}}); let newHdrs = fixHeaders(url, response.status, response.headers);
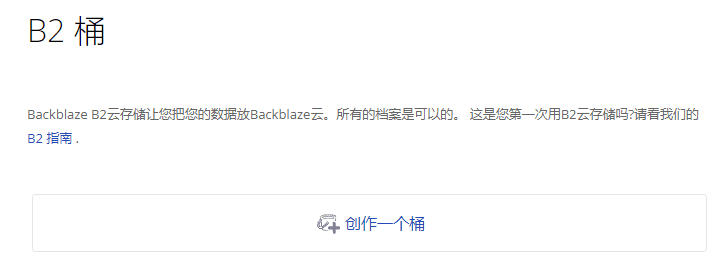
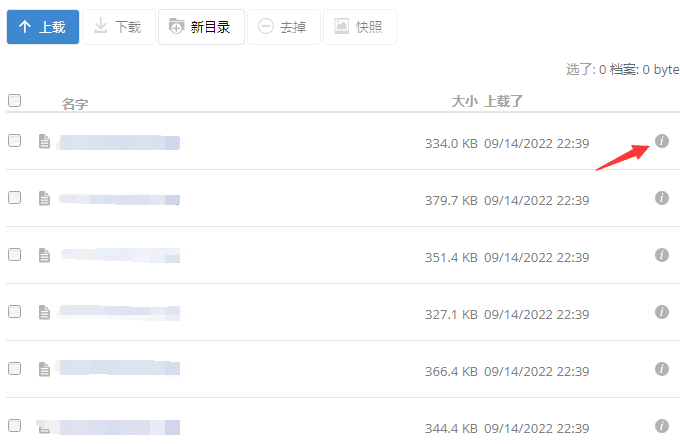

![图片[1]-利用cloudflare+backblaze自建图床源站](https://img-cft.captainz.cc/hexo/%E5%88%A9%E7%94%A8cloudflare-backblaze%E8%87%AA%E5%BB%BA%E5%9B%BE%E5%BA%8A%E6%BA%90%E7%AB%99/633815b396a6a.png)
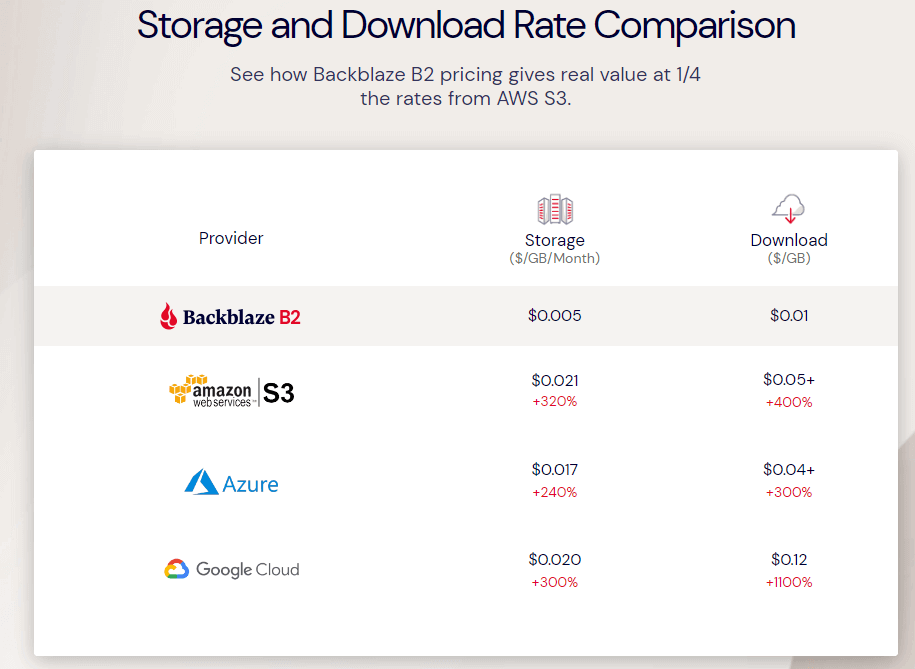
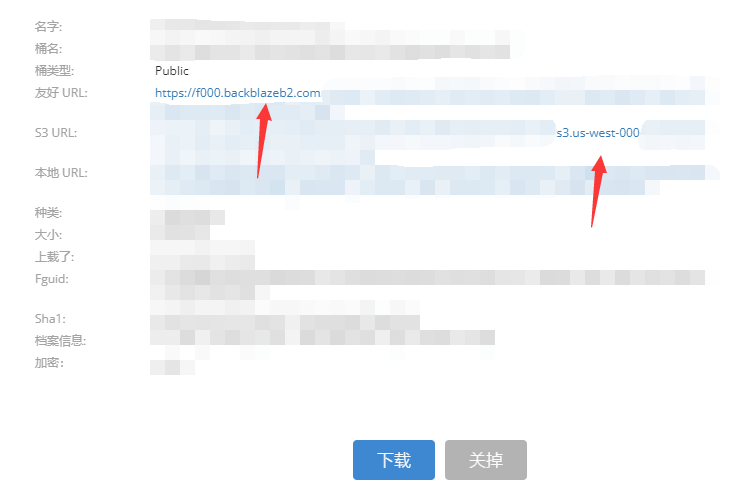
![图片[2]-利用cloudflare+backblaze自建图床源站](https://img-cft.captainz.cc/hexo/%E5%88%A9%E7%94%A8cloudflare-backblaze%E8%87%AA%E5%BB%BA%E5%9B%BE%E5%BA%8A%E6%BA%90%E7%AB%99/6338179fcea8a.png)